2. Set up your first UMH instance locally
2 minute read
Requirements:
You can also follow the tutorial in the Management Console to install your first local instance. If you do not see the tutorial, please click on the help button located in the bottom right corner to open it.
Adding a Device
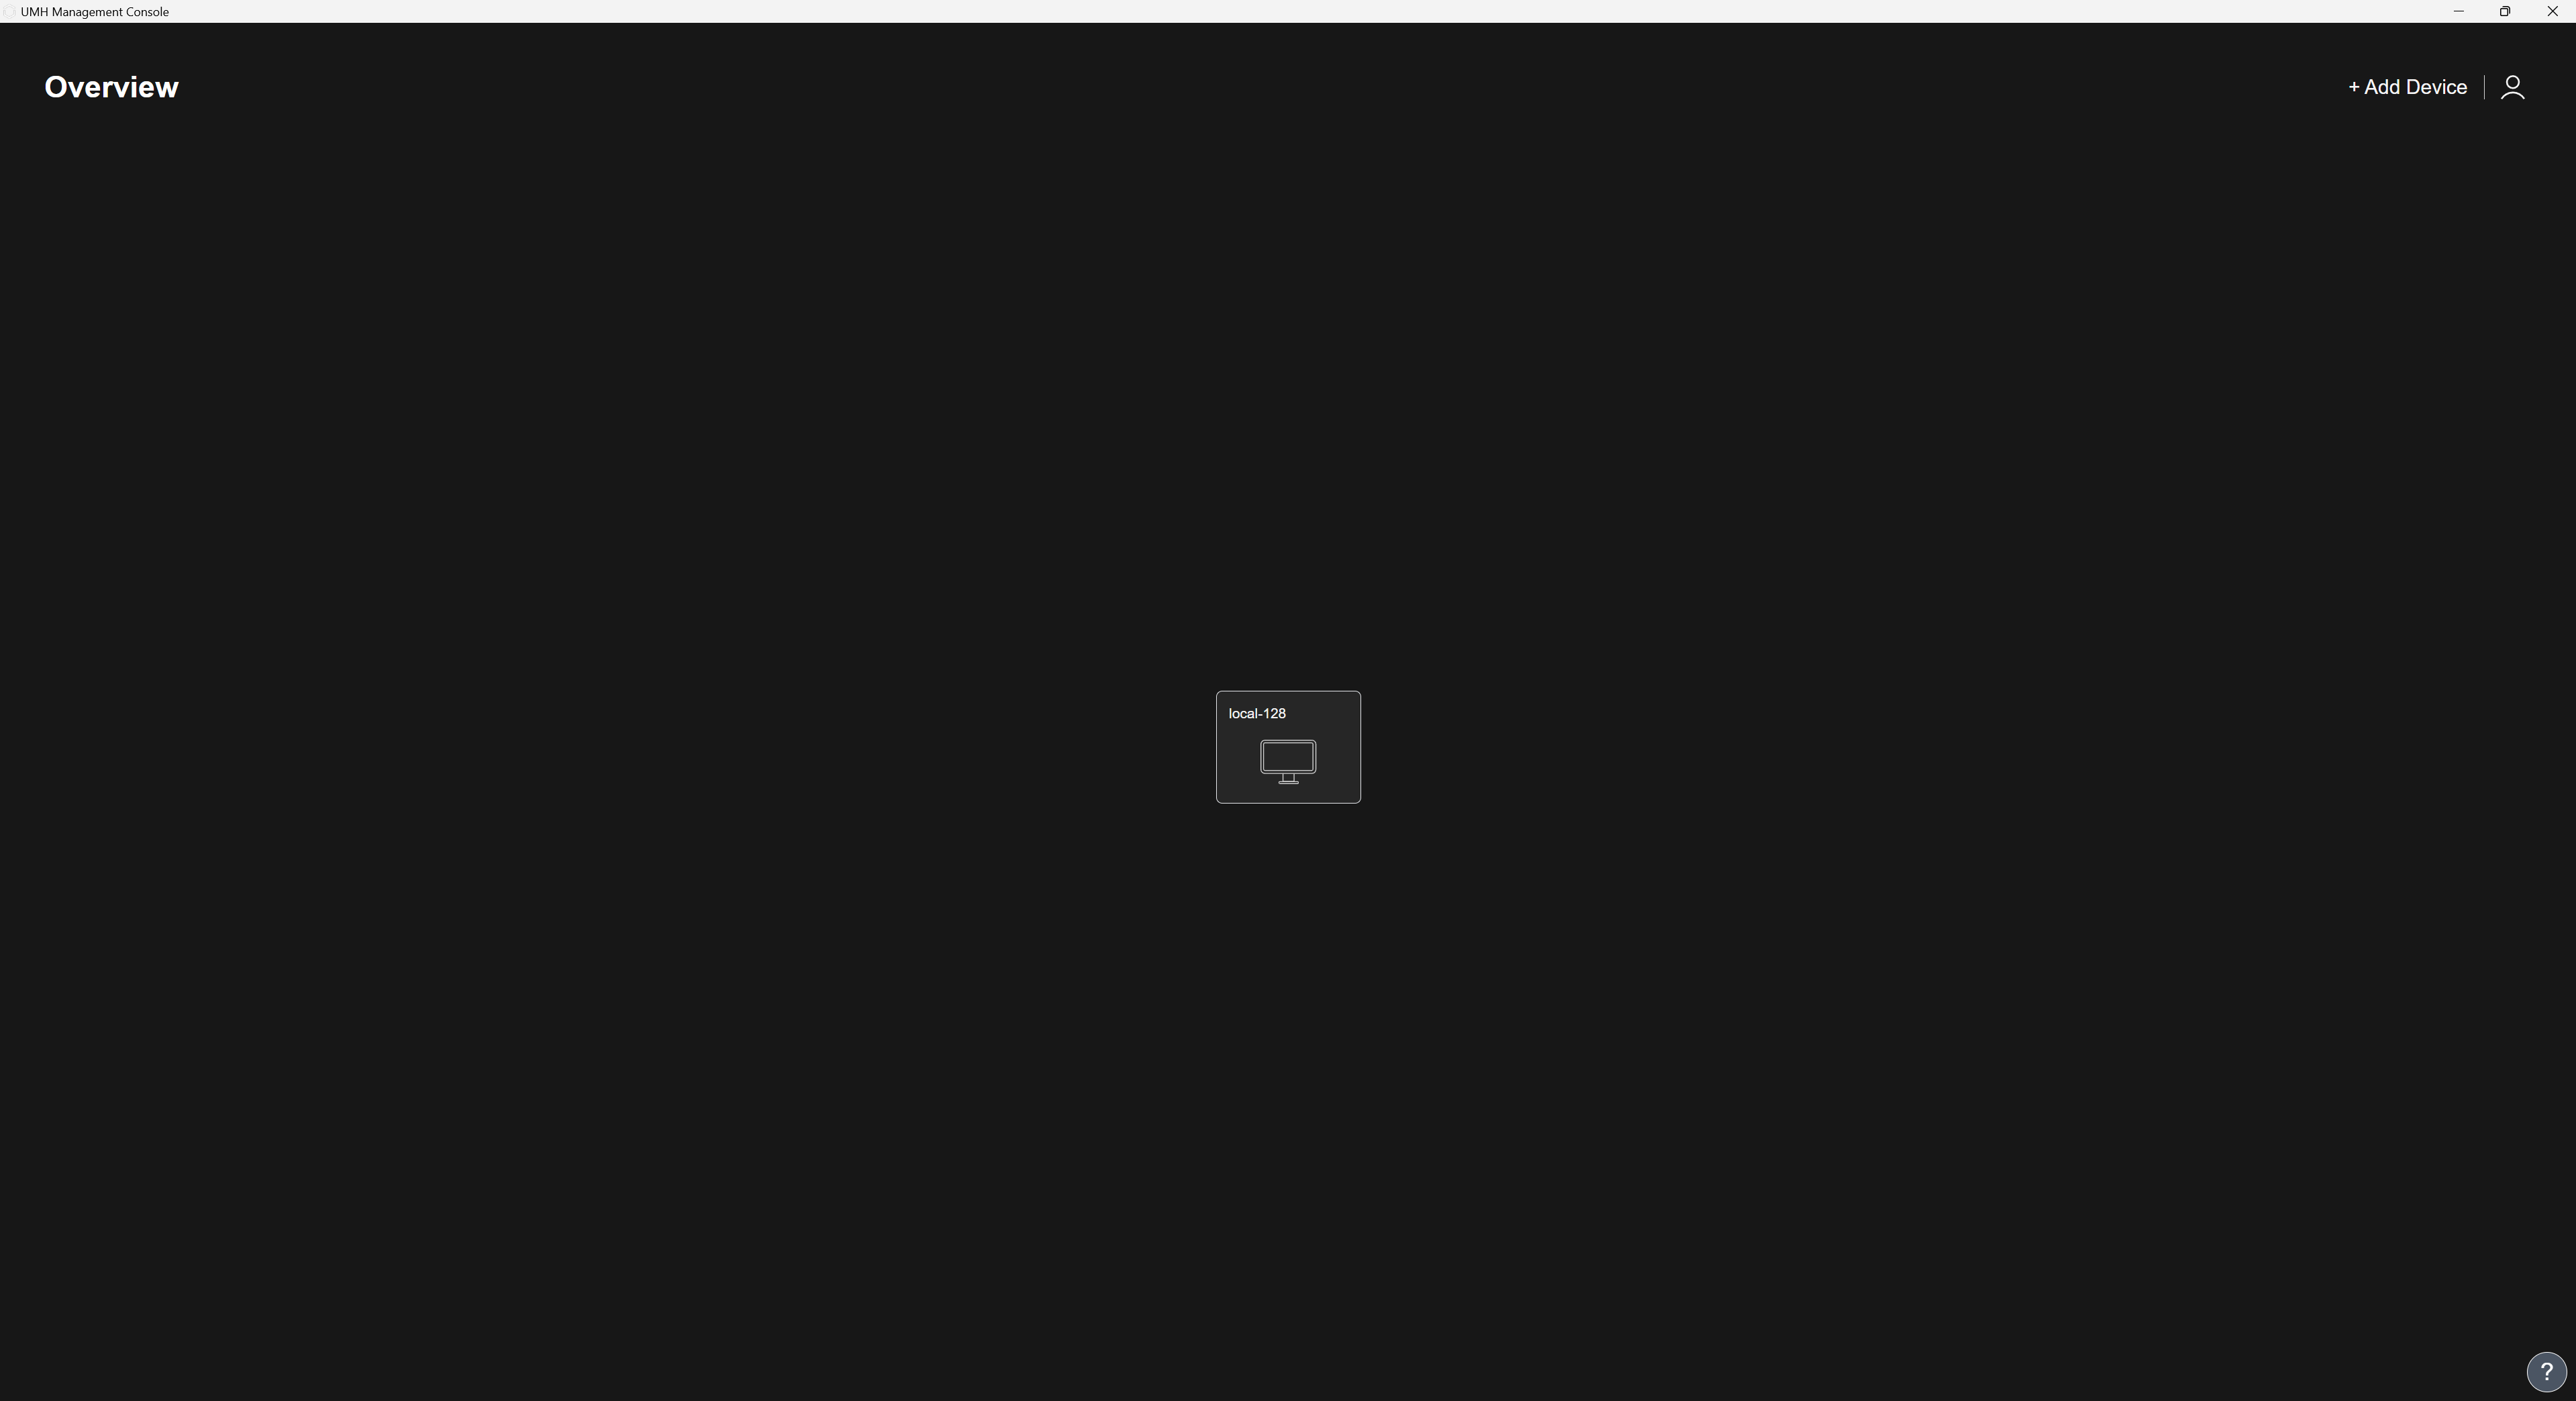
In the Overview, you can view your currently installed instances and add new ones. To install a new instance, click on the + ADD Instance button, which is located in the top right corner.
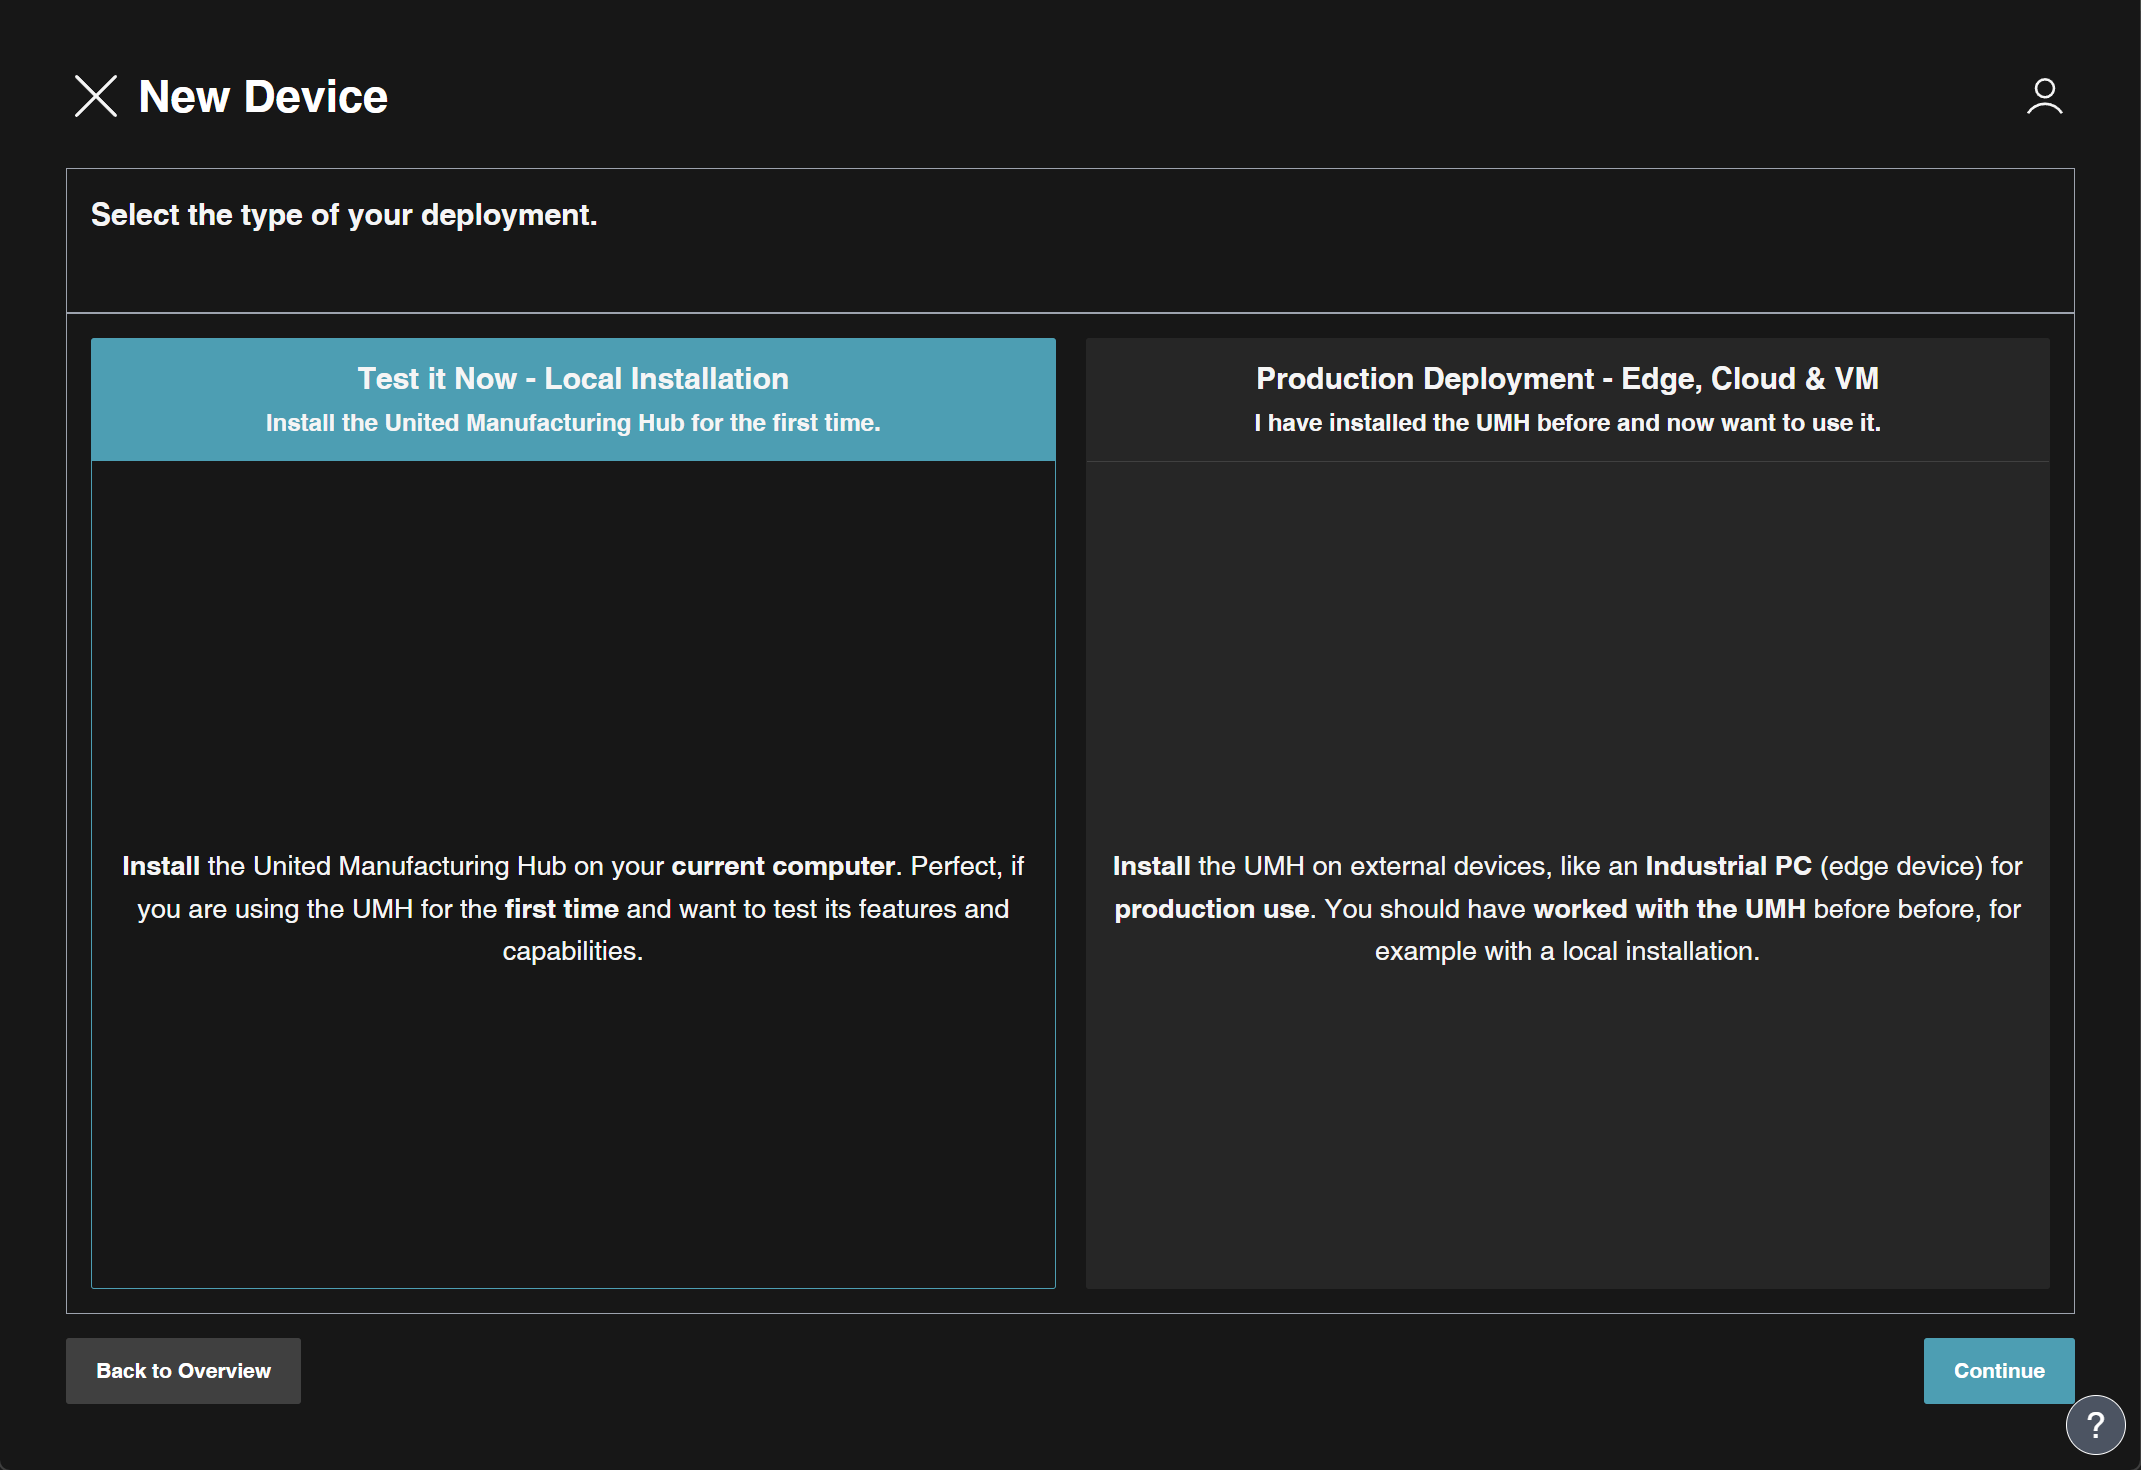
Click on the + ADD Instance button to start the installation process of a new instance. Select Test it Now - Local Installation and click on Continue.
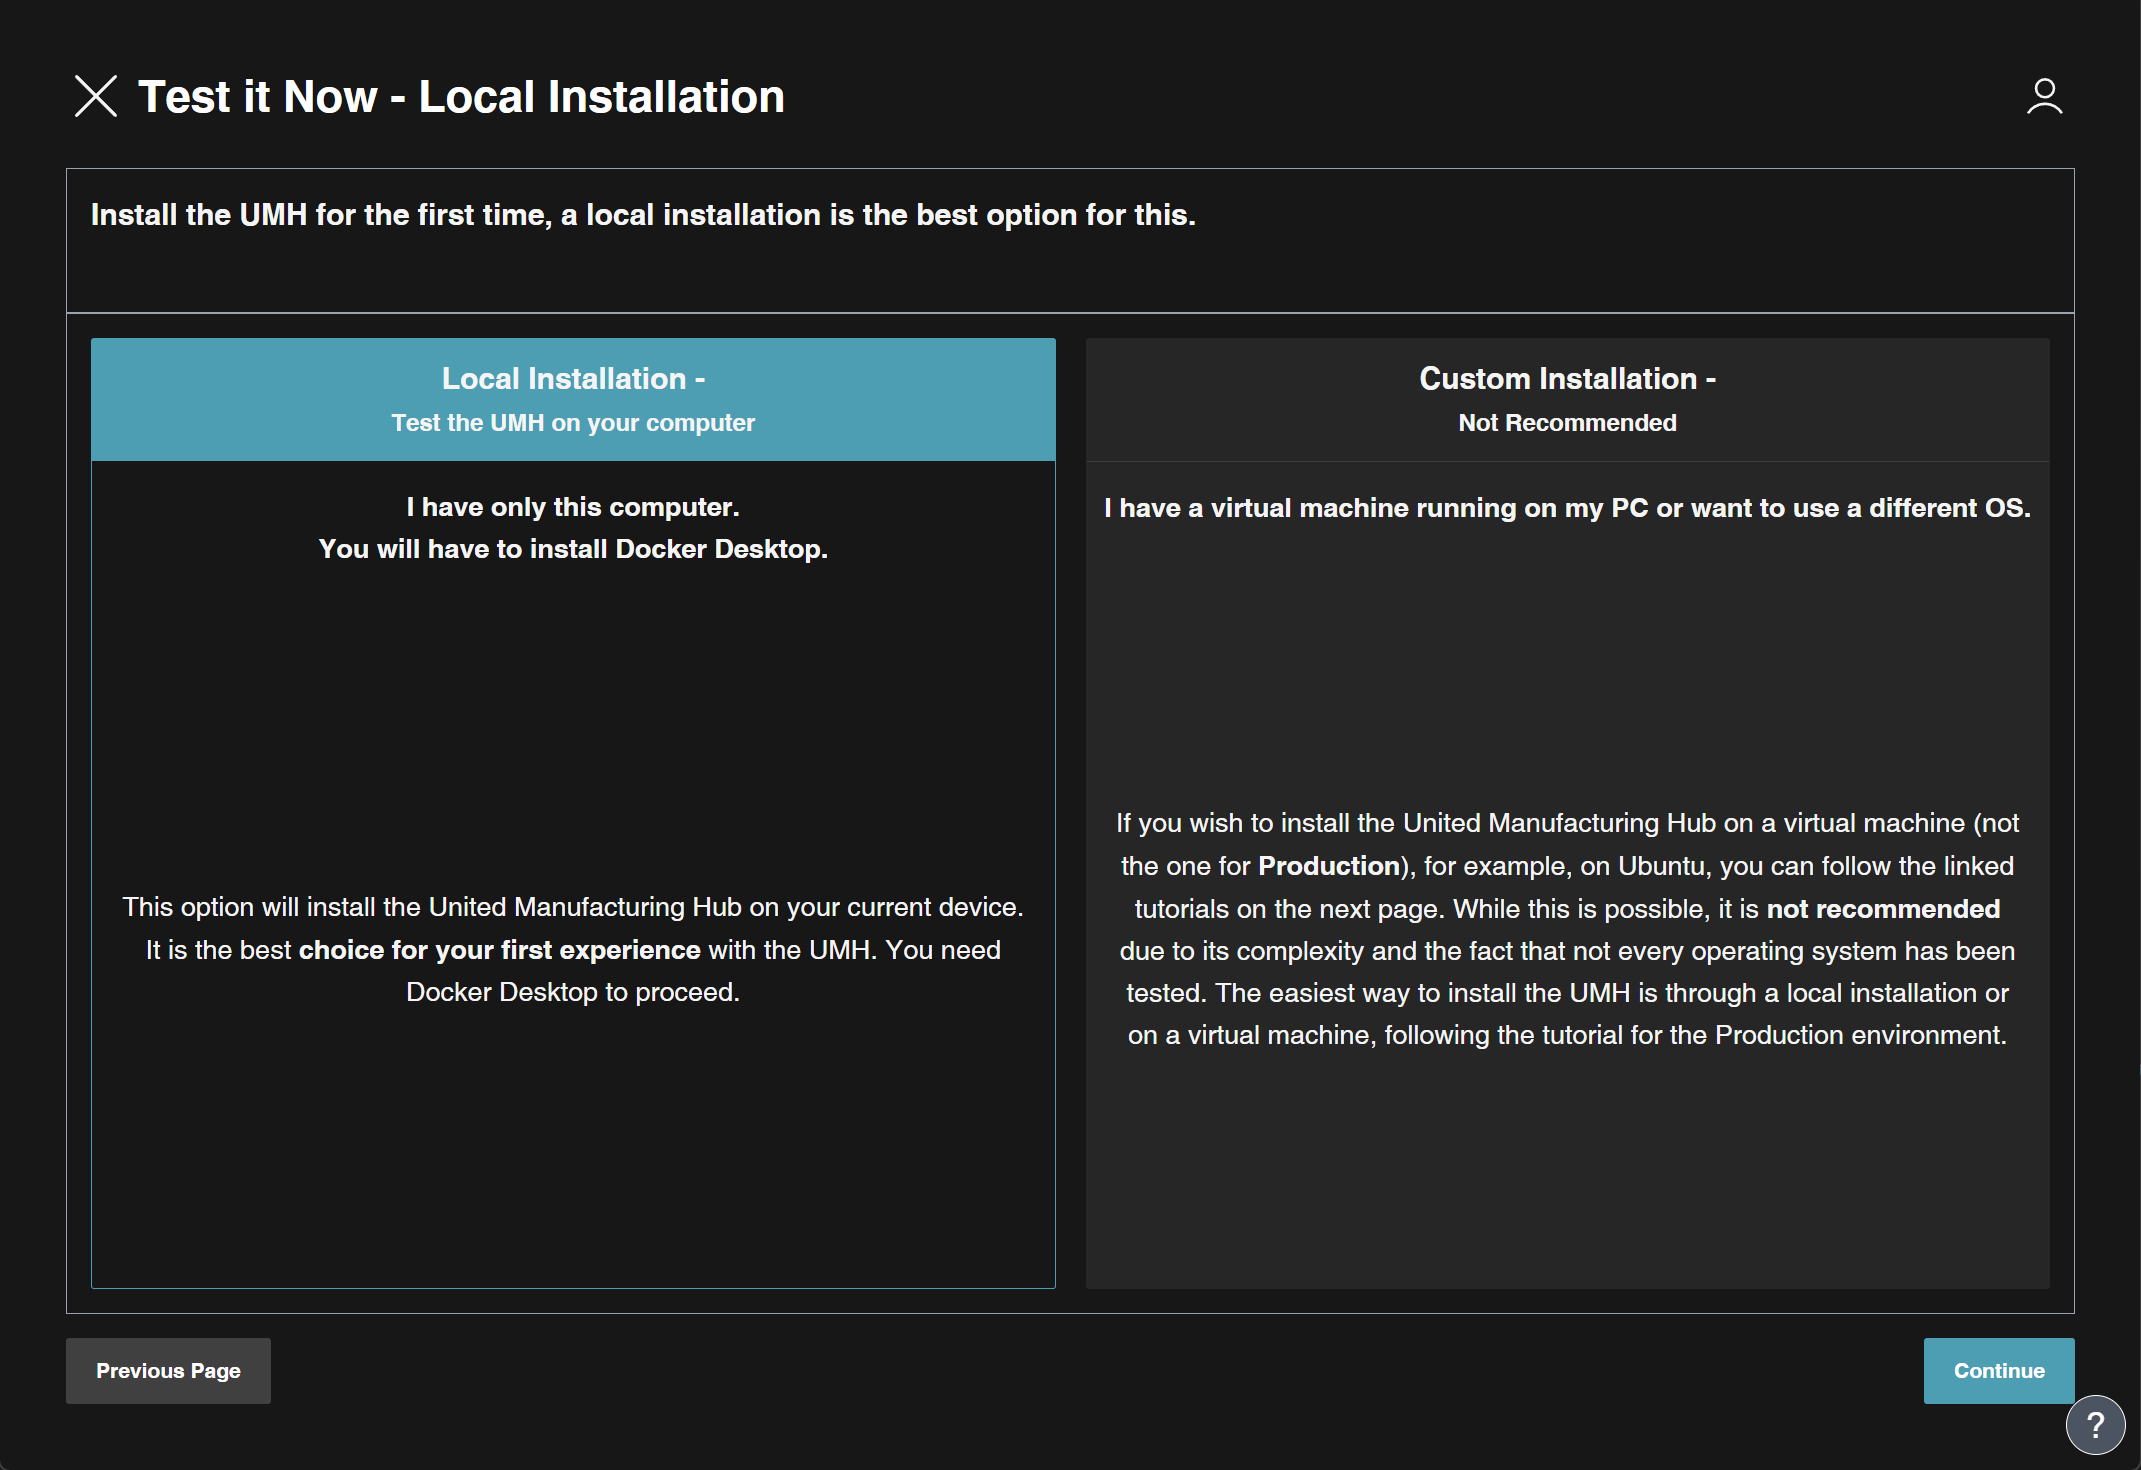
Select Local Installation and then click on the Continue button. Currently, there are no guides for custom installations.
Before you can install, you need to ensure your system meets the system requirements for a local installation and that you have Docker Desktop installed and running.
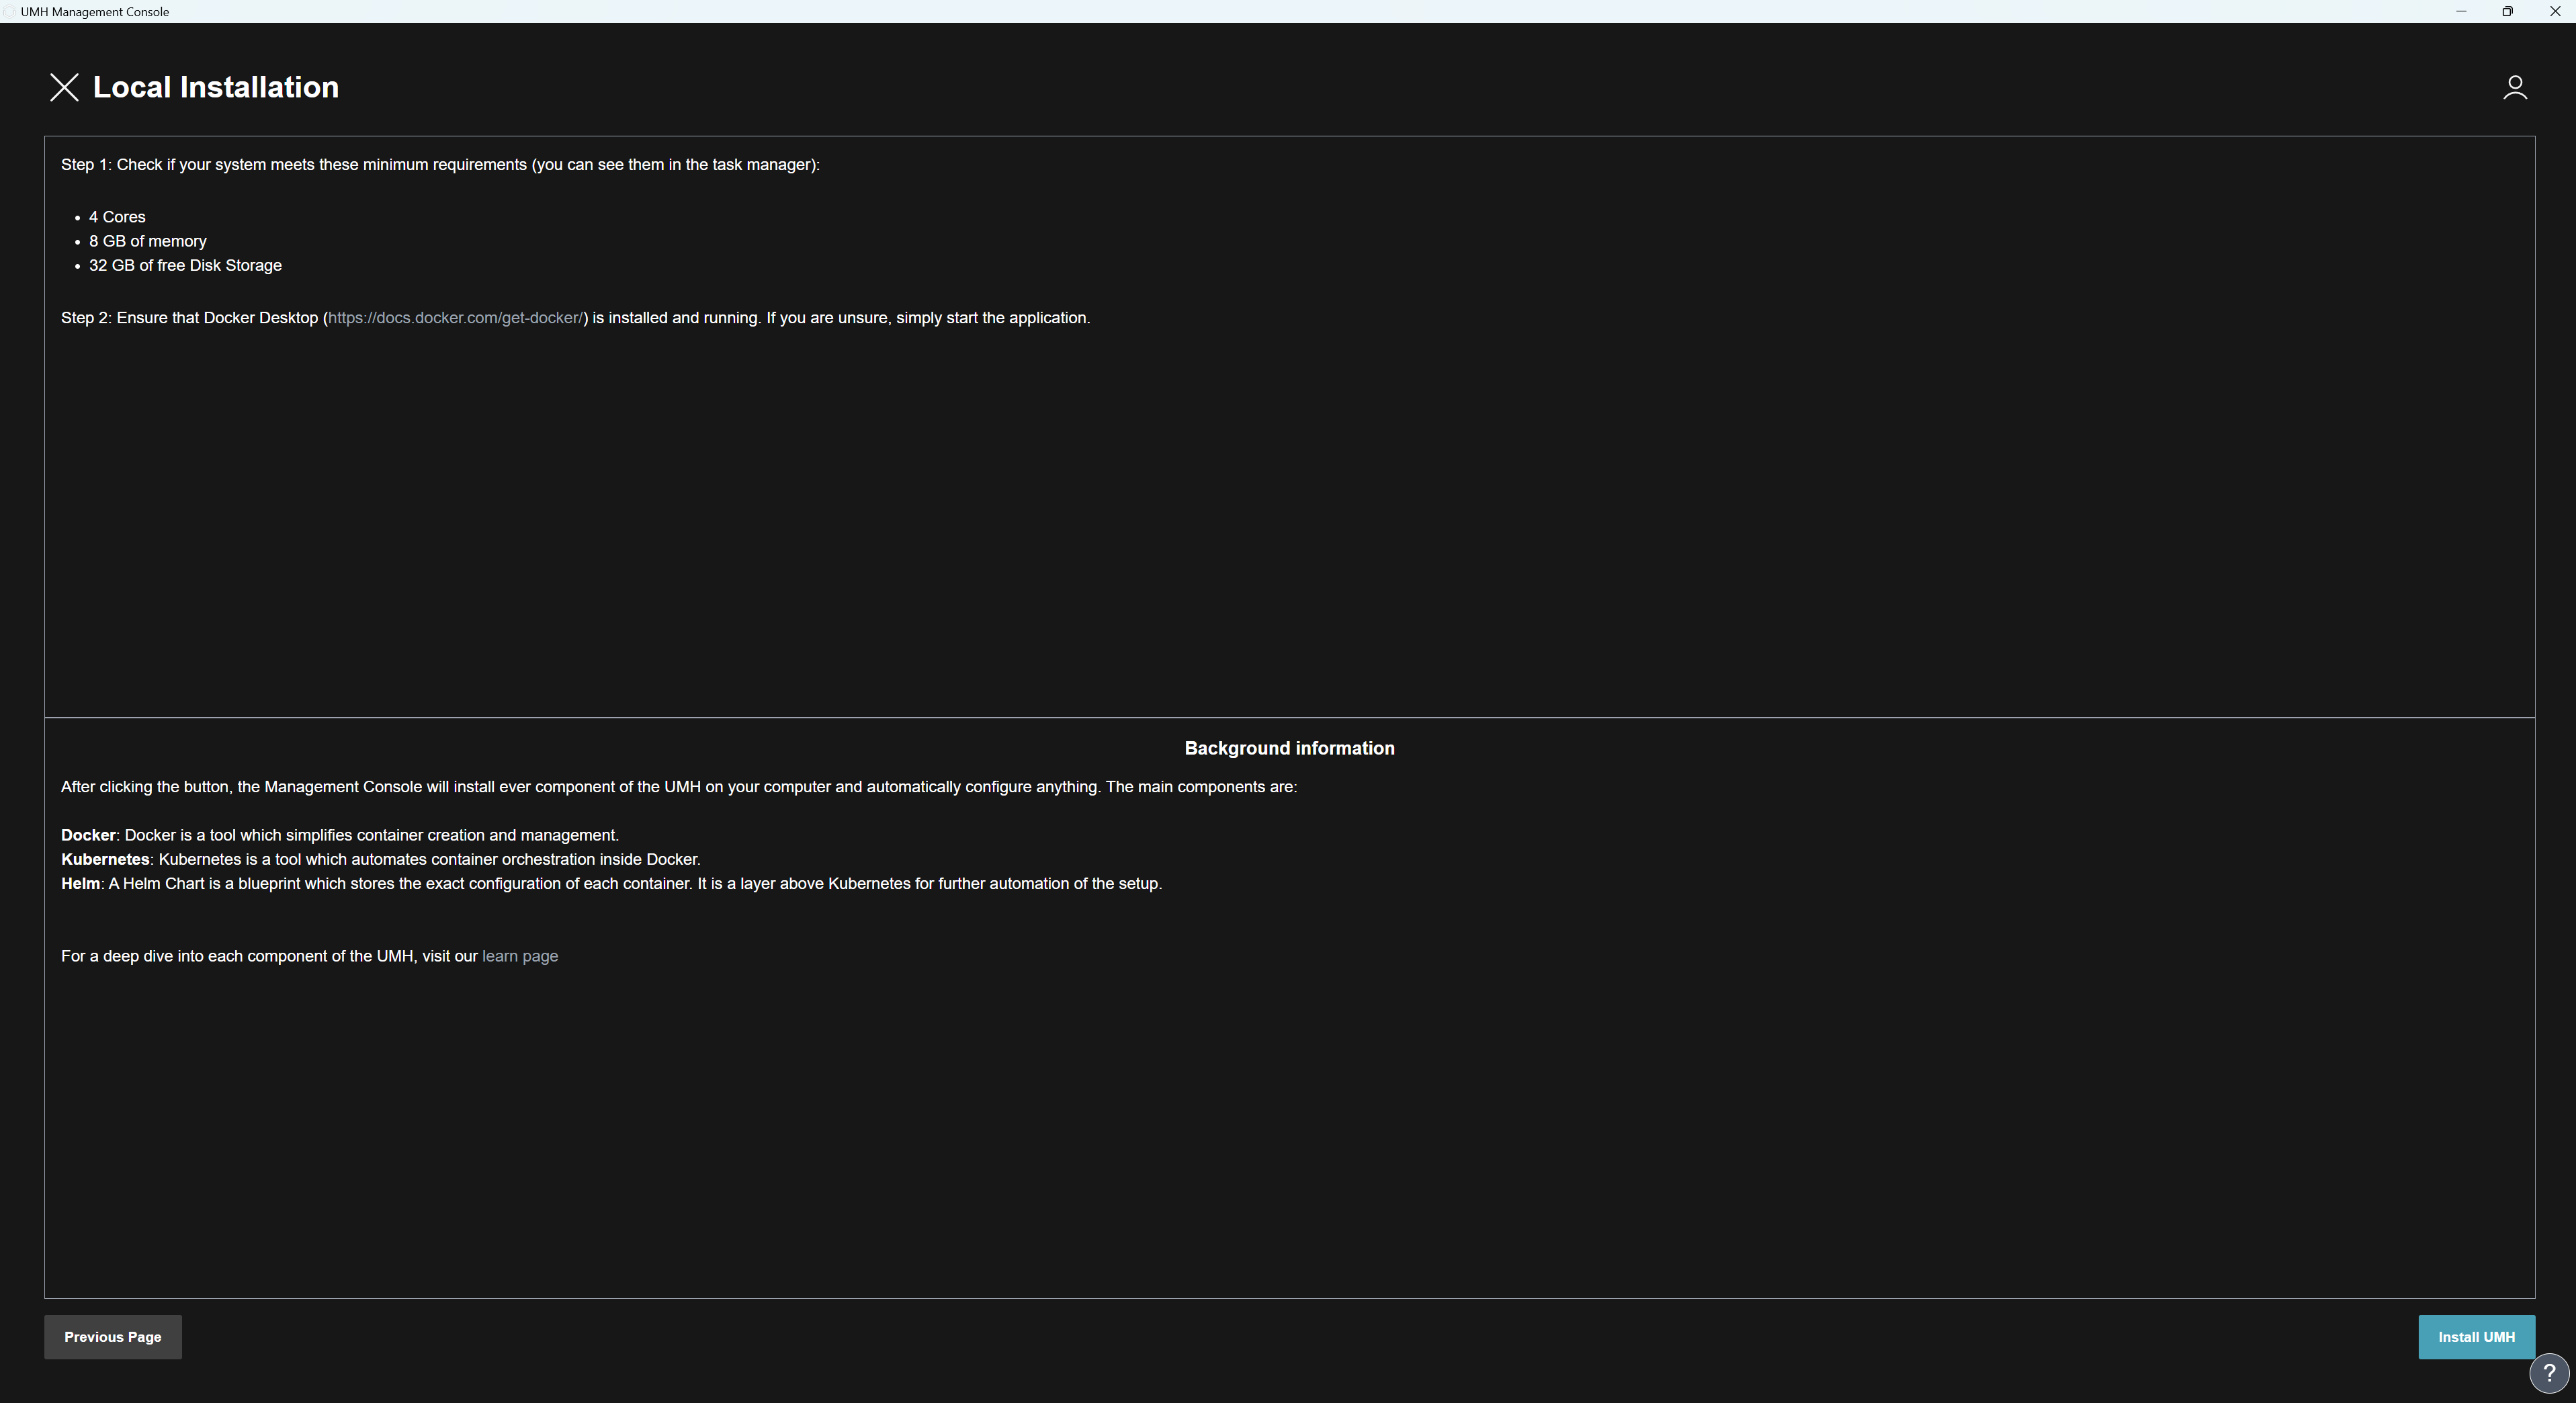
If you have installed Docker Desktop and your computer meets the requirements, click on Continue.


If you see the option Overwrite Existing UMH instead of Install UMH, please be aware that clicking on the button will delete the previous installation of the UMH and you will lose all associated data and configurations, such as Node-RED flows and Grafana dashboards.
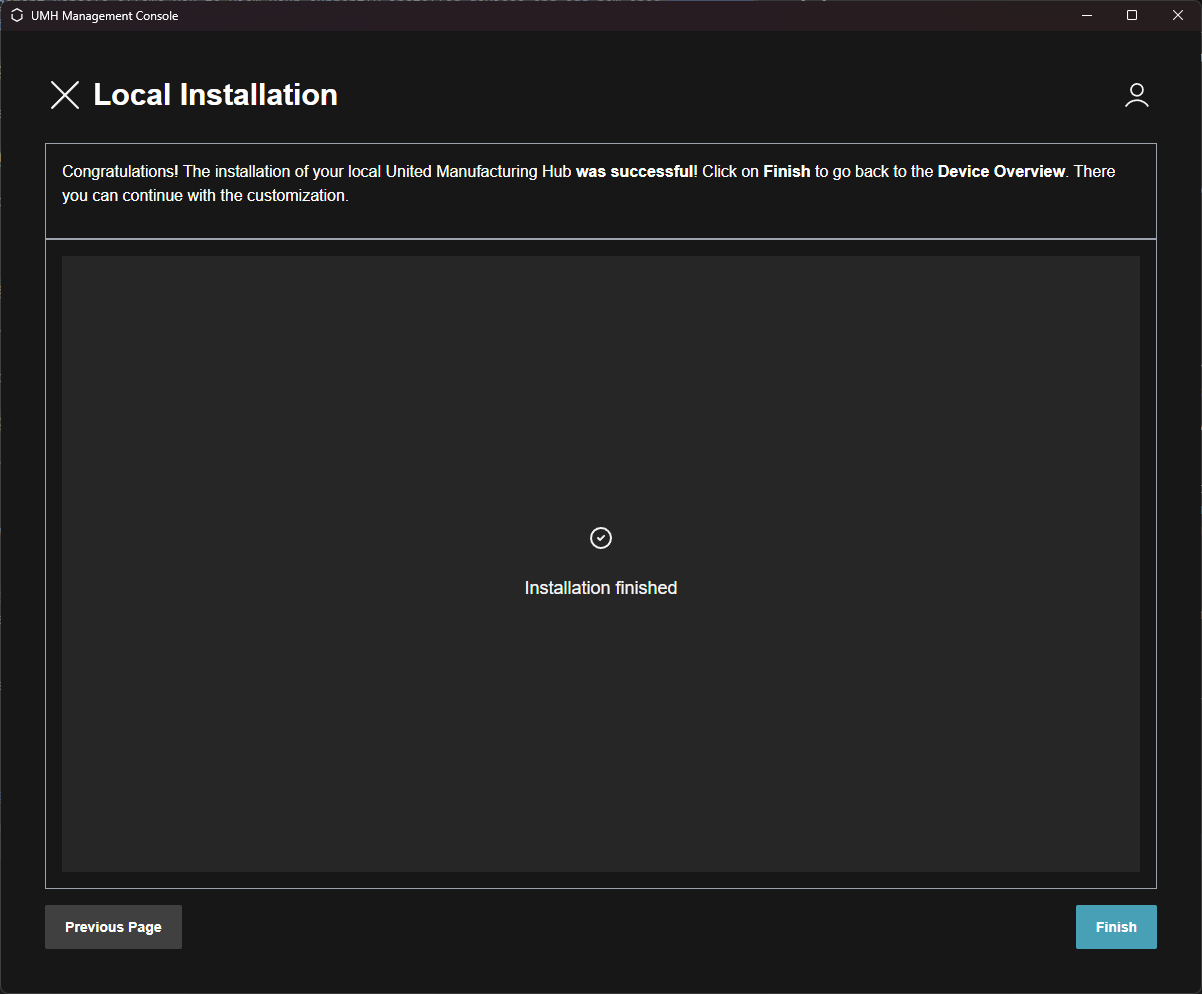
When the installation is completed, click on the Finish button to return to the Overview tab.
Congratulations! You have successfully installed the United Manufacturing Hub on your local machine. You can now click on the stack to manage and monitor it.

What’s Next?
You can now proceed to the next page: Managing and monitoring your first instance.